Anytime Call
Office Location
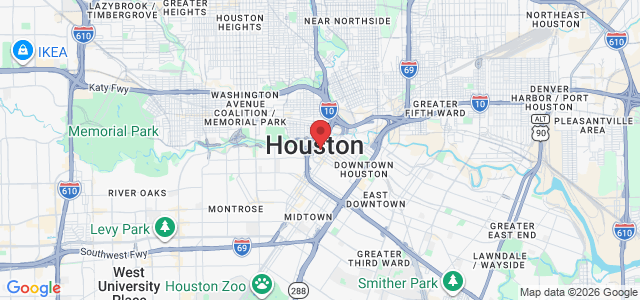
32415 S Dairy Ashford Rd, Houston, TX 77077, 2890 W Sam Houston Pkwy S, Houston, TX 77042, 18901 Kuykendahl Rd, Spring, TX 77379
Offers Both Pipe Leak and Full Plumbing Services
Expert Plumbing Repairs For Every Home & Business
Anytime Call
Office Location
32415 S Dairy Ashford Rd, Houston, TX 77077, 2890 W Sam Houston Pkwy S, Houston, TX 77042, 18901 Kuykendahl Rd, Spring, TX 77379
Offers Both Pipe Leak and Full Plumbing Services
Expert Plumbing Repairs For Every Home & Business

24/7 Team Support
Day or night, our team is ready for your emergency

Plumbing Installations
Plumbing work includes installing, renovating, and repairing water systems and drainage.

Quality Materials
We use top-grade materials to ensure long-lasting plumbing performance.

Expert Plumbers
Our licensed plumbers ensure every repair and installation meets the highest standards.
24/7 Team Support
Day or night, our team is ready for your emergency
Plumbing Installations
Plumbing work includes installing, renovating, and repairing water systems and drainage.
Quality Materials
We use top-grade materials to ensure long-lasting plumbing performance.
Expert Plumbers
Our licensed plumbers ensure every repair and installation meets the highest standards.

About PlumbTech
Houston's Trusted Plumbing Specialists
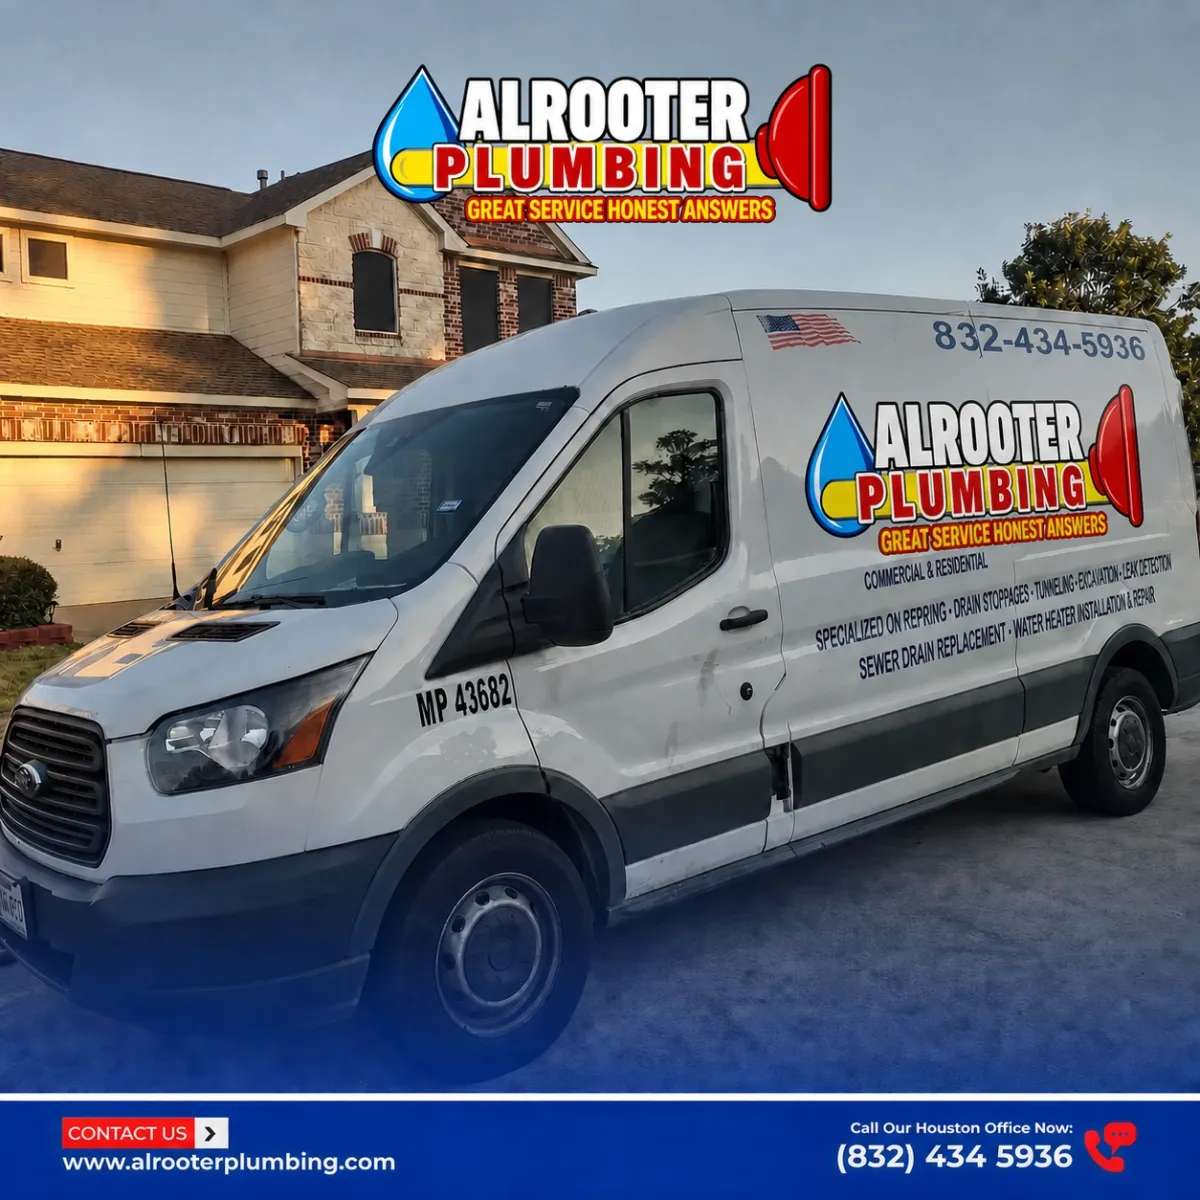
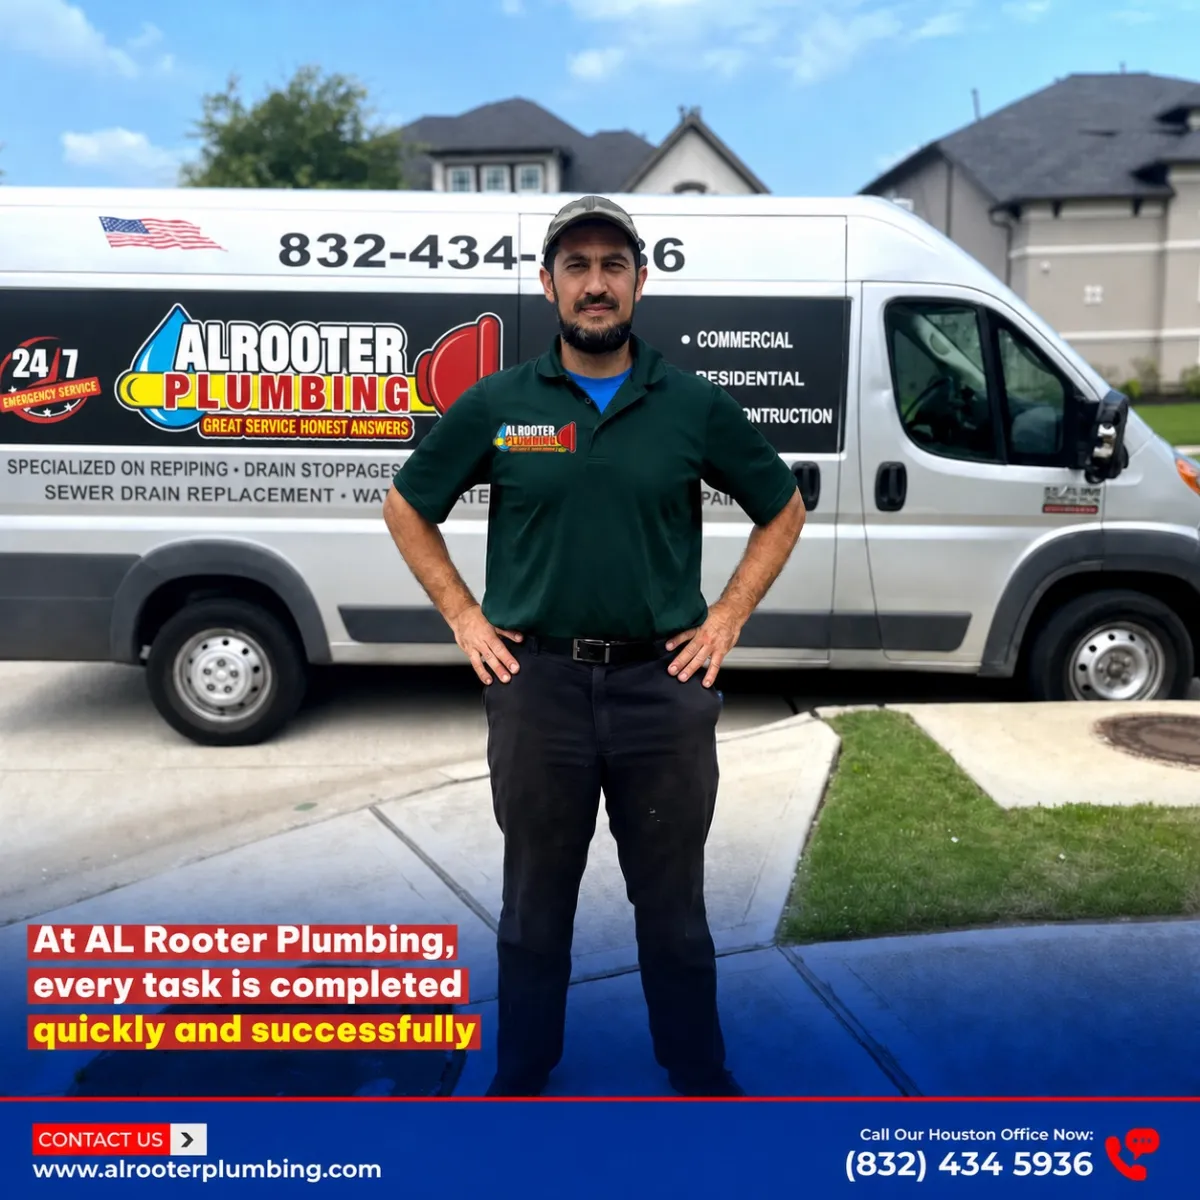
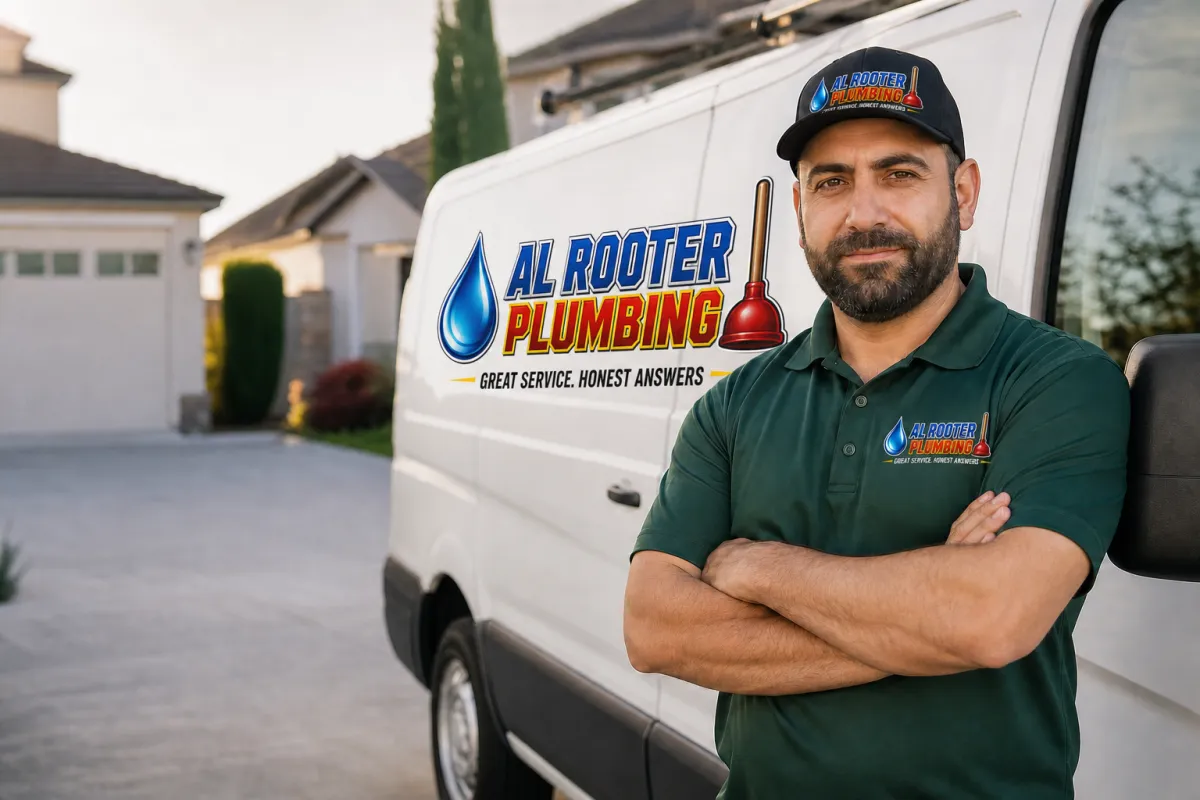
AL Rooter Plumbing is experienced in handling a wide range of plumbing installation and repair needs, offering 24-hour emergency service across Houston and surrounding areas. We price by the job, not by the hour — no surprises, no hidden fees.
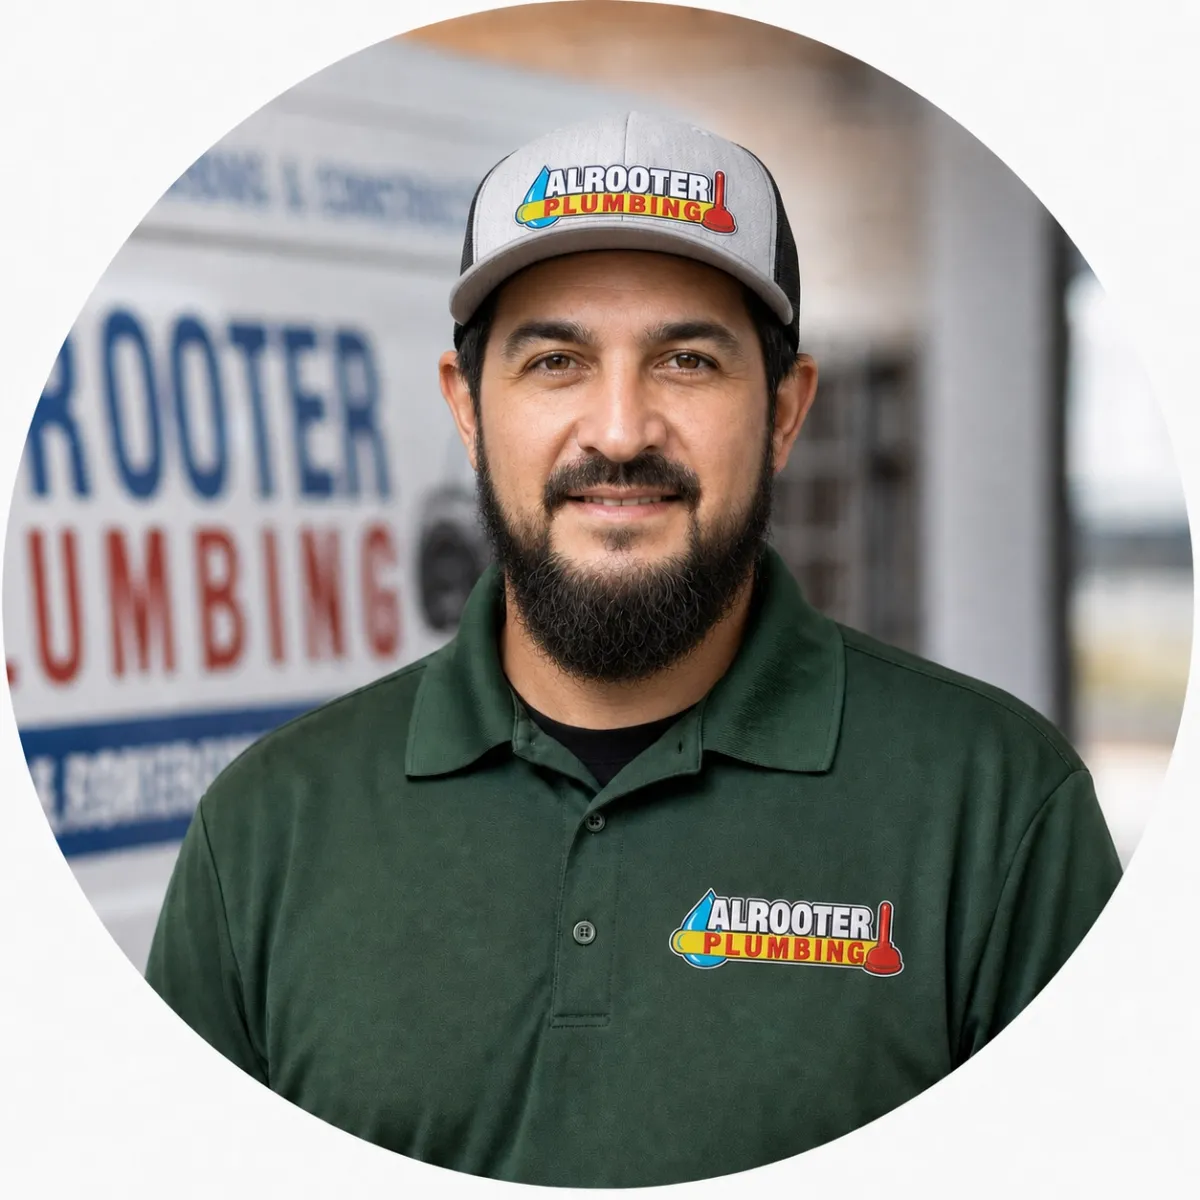
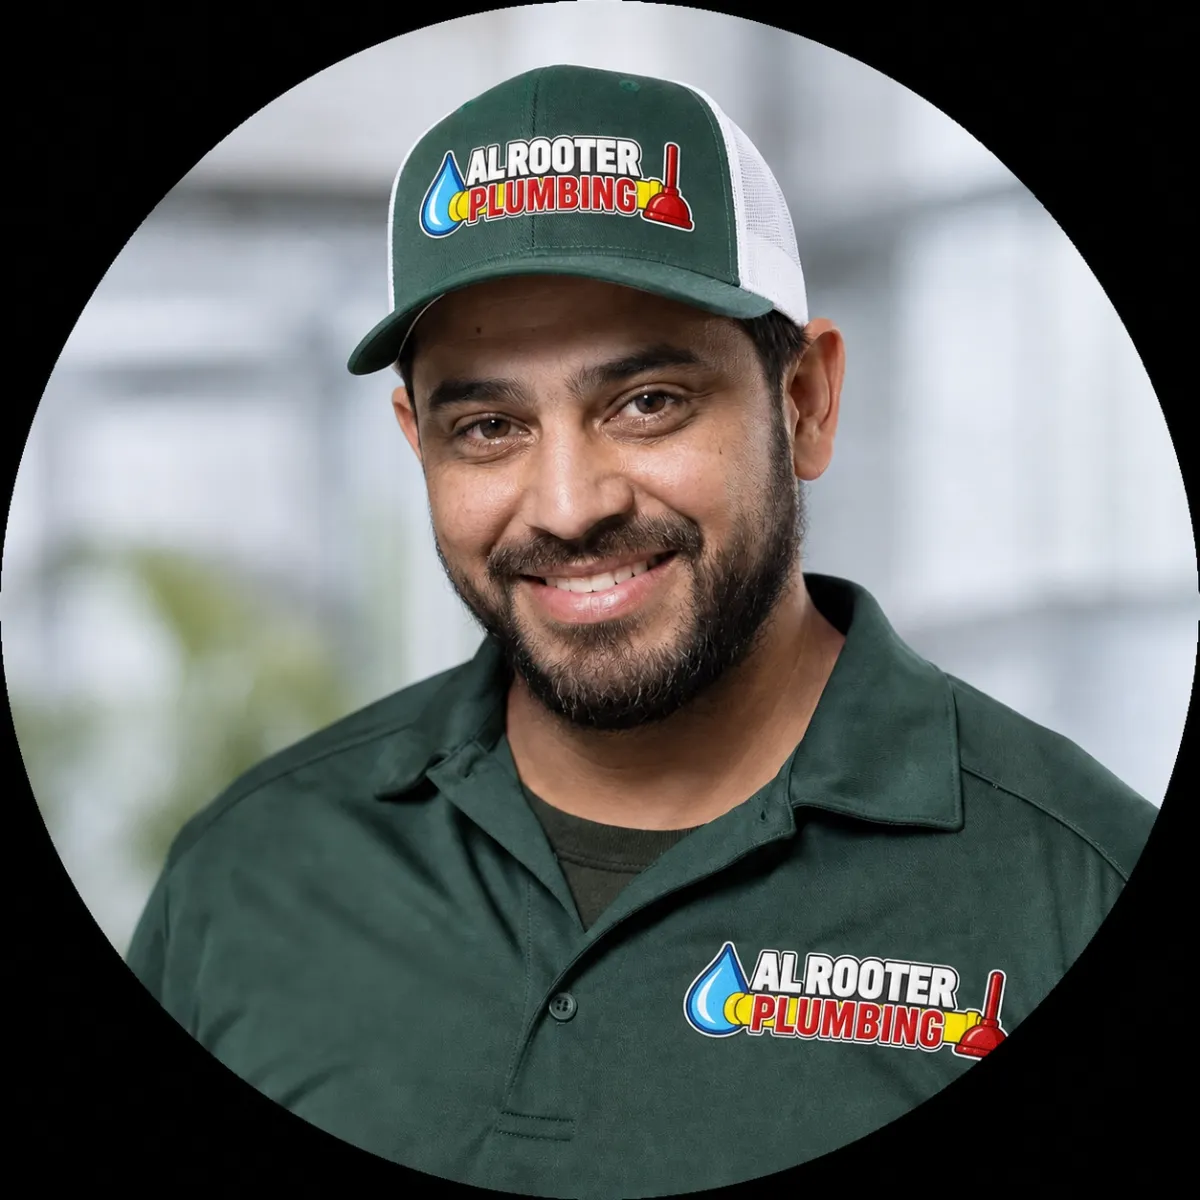
Ramez
Owner

Ramez
Leader, OWNER


OUR SERVICES
High-quality Plumbing Services

Repipe House Experts
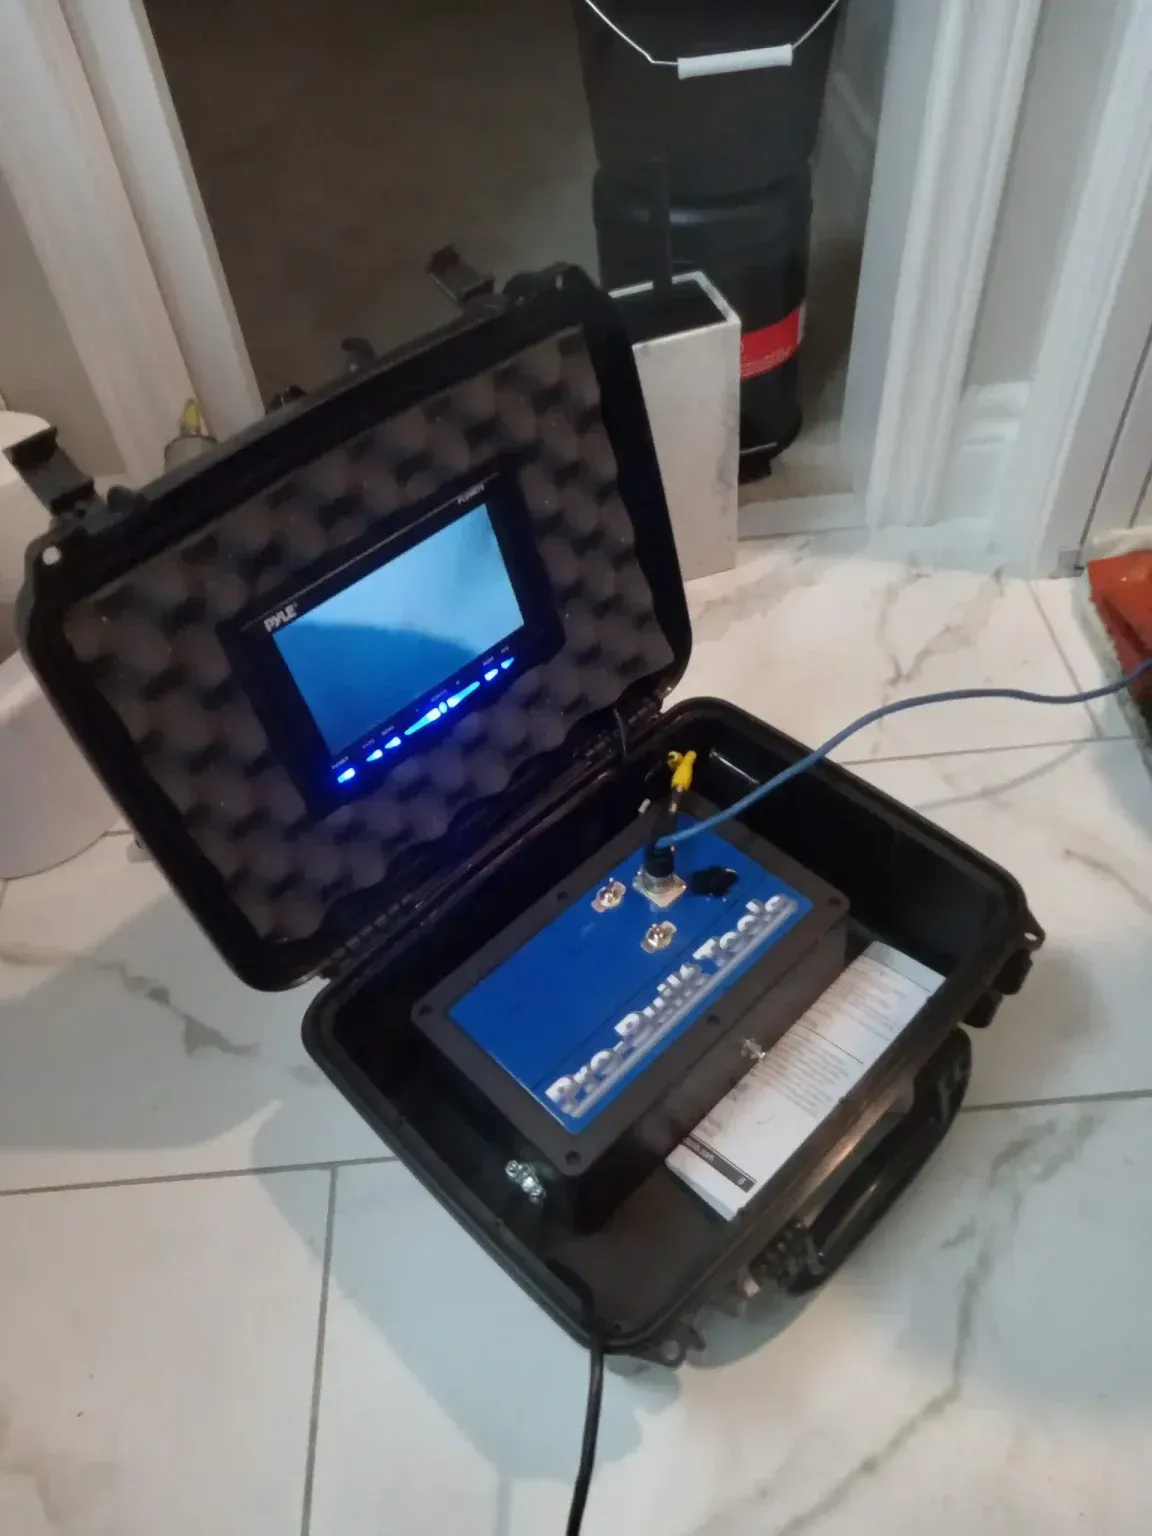
Hydrostatic Water Leak Detection
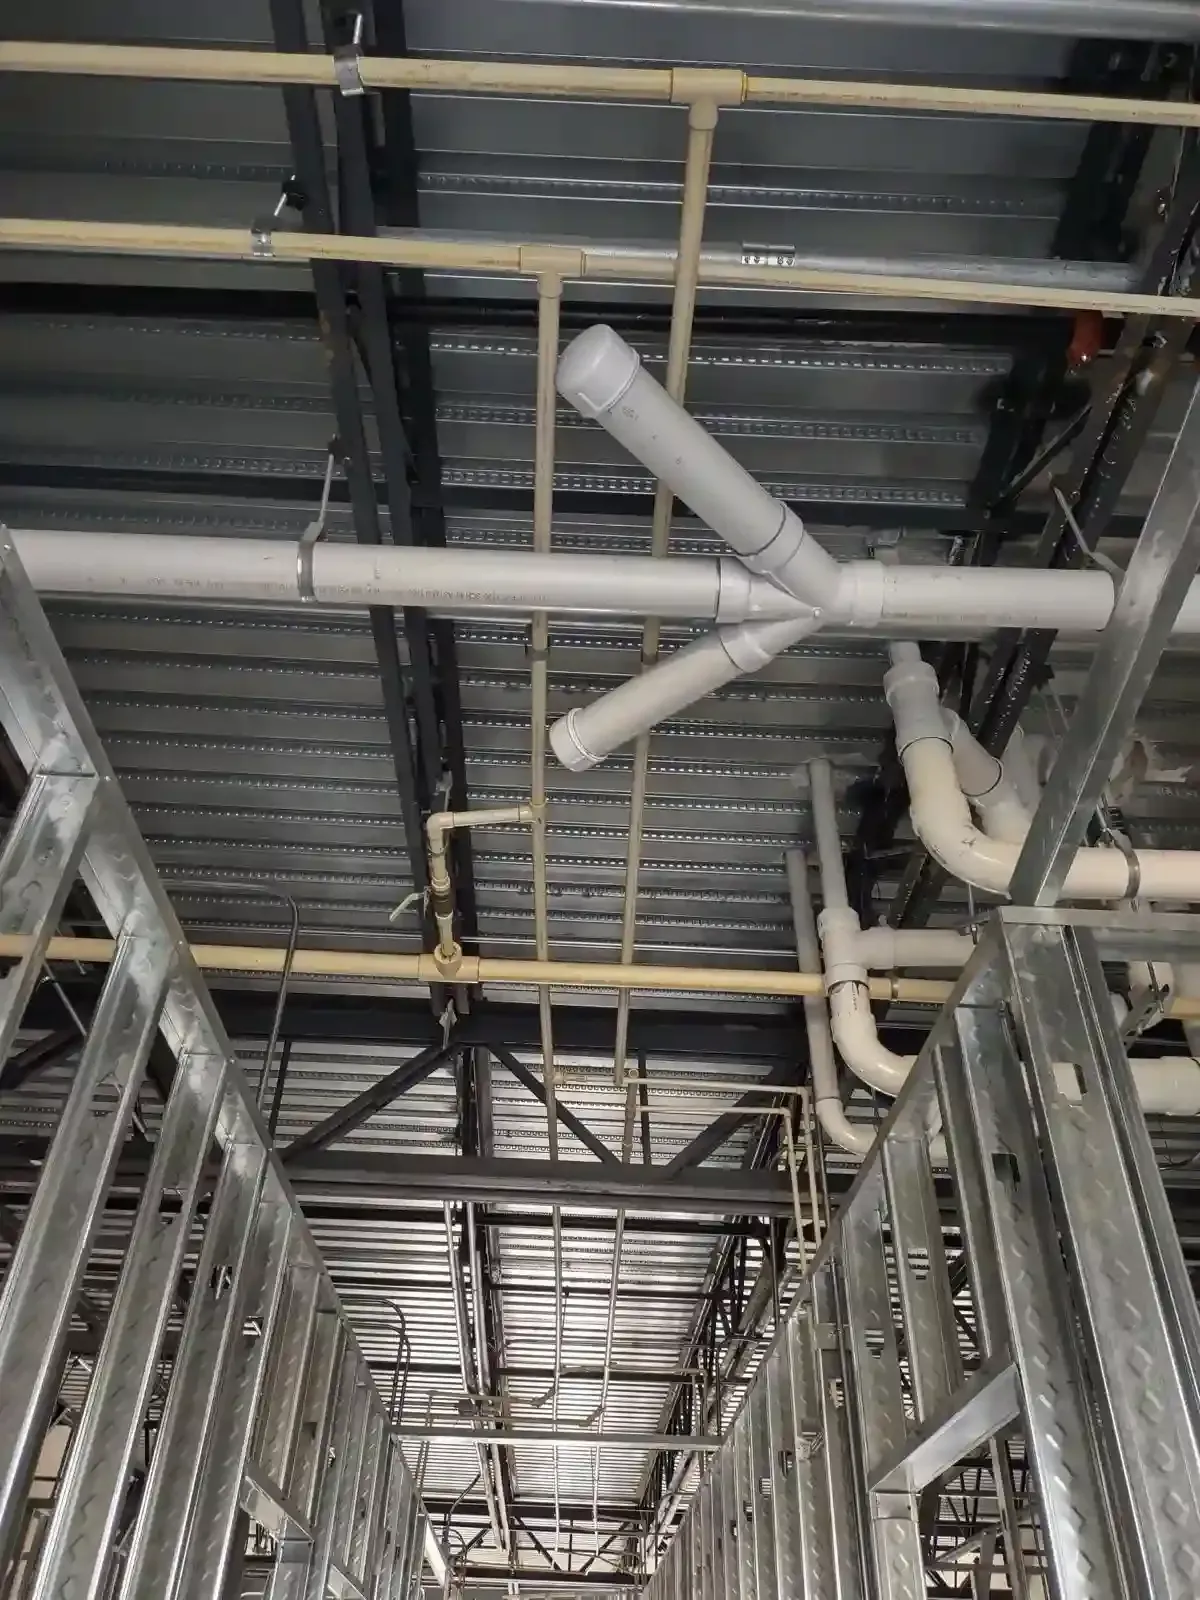
New Construction
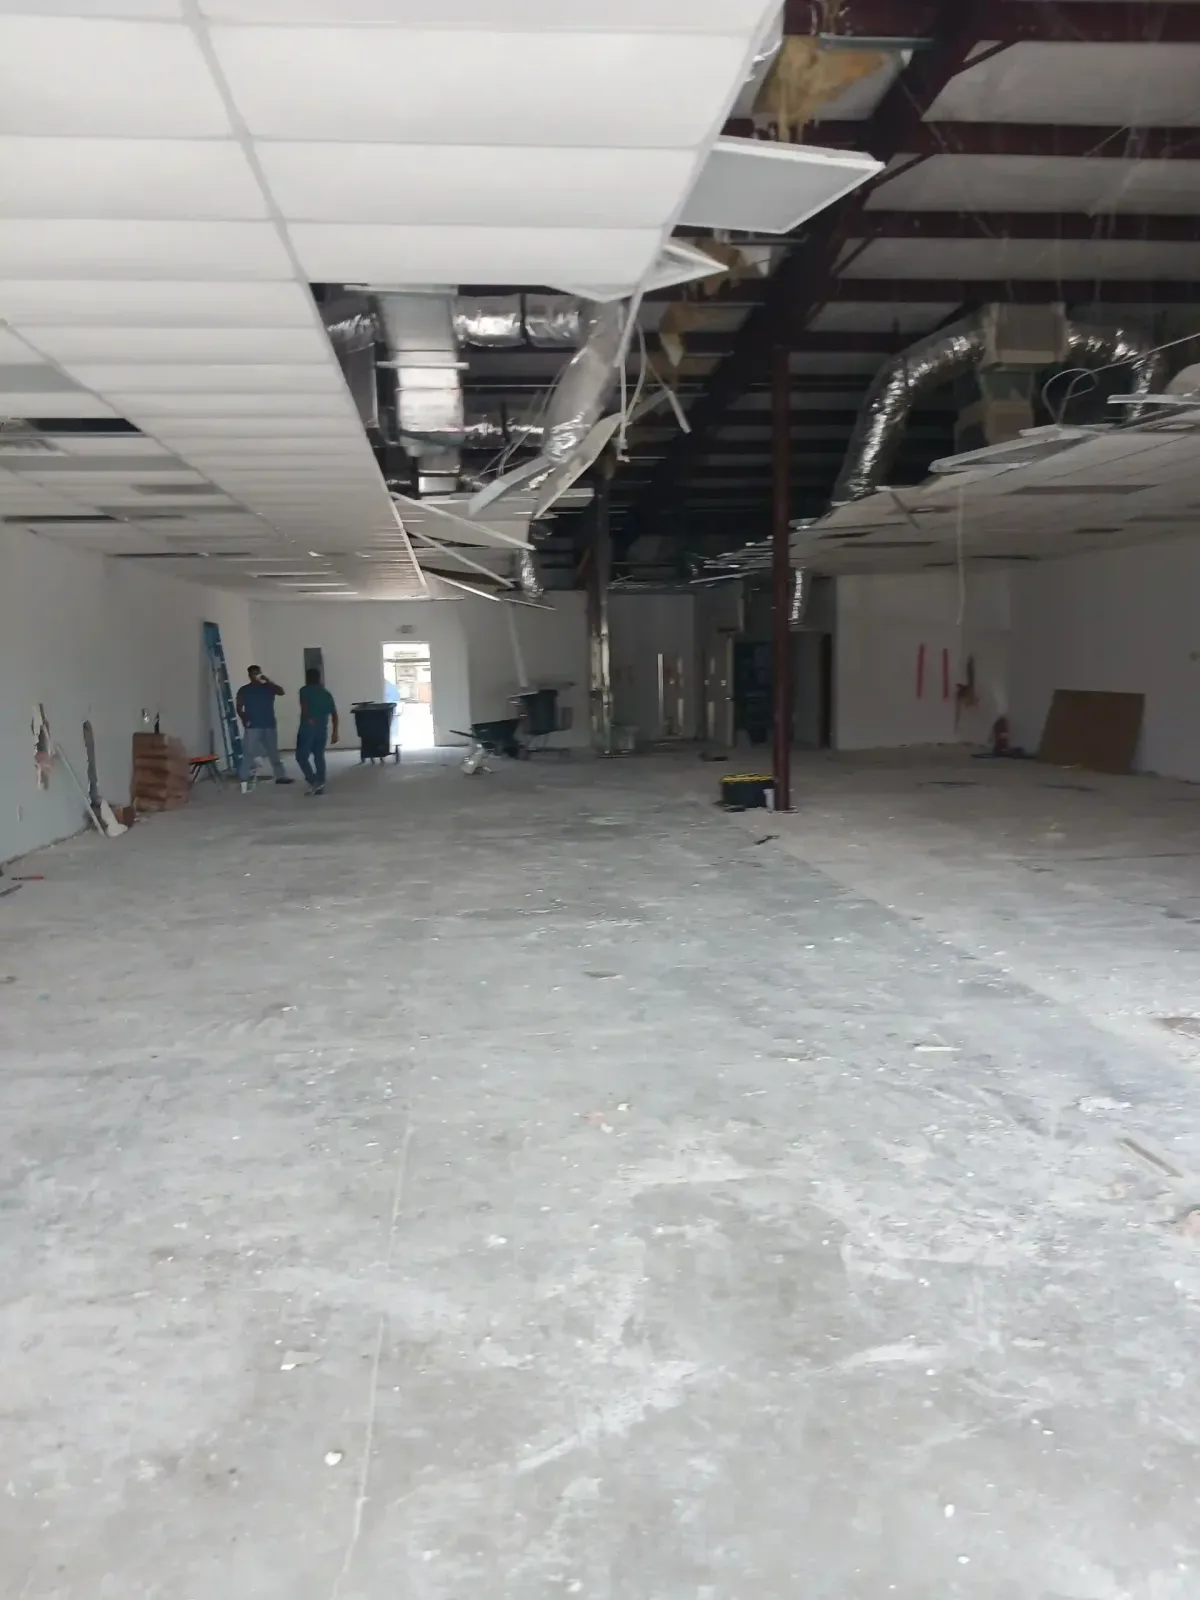
Commercial Services
Drain Cleaning
Gas Line Repair & Installation
Sewer Line Repair & Installation
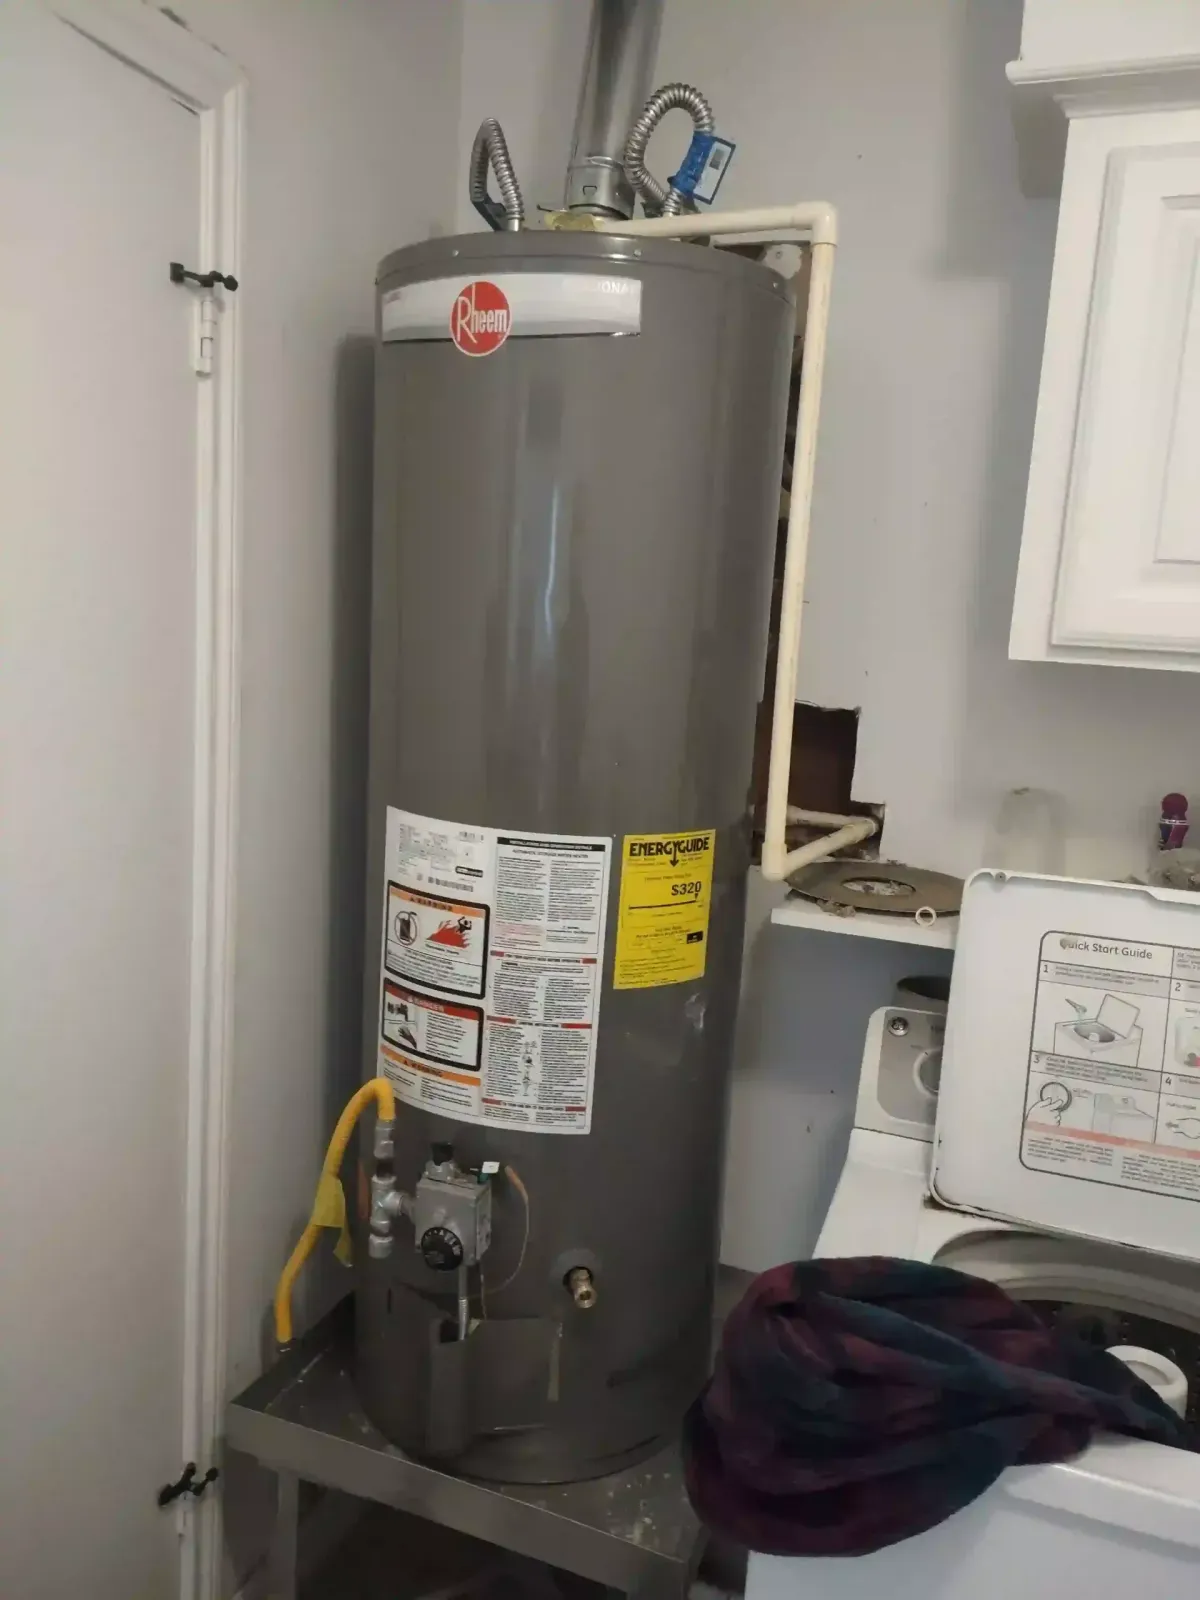
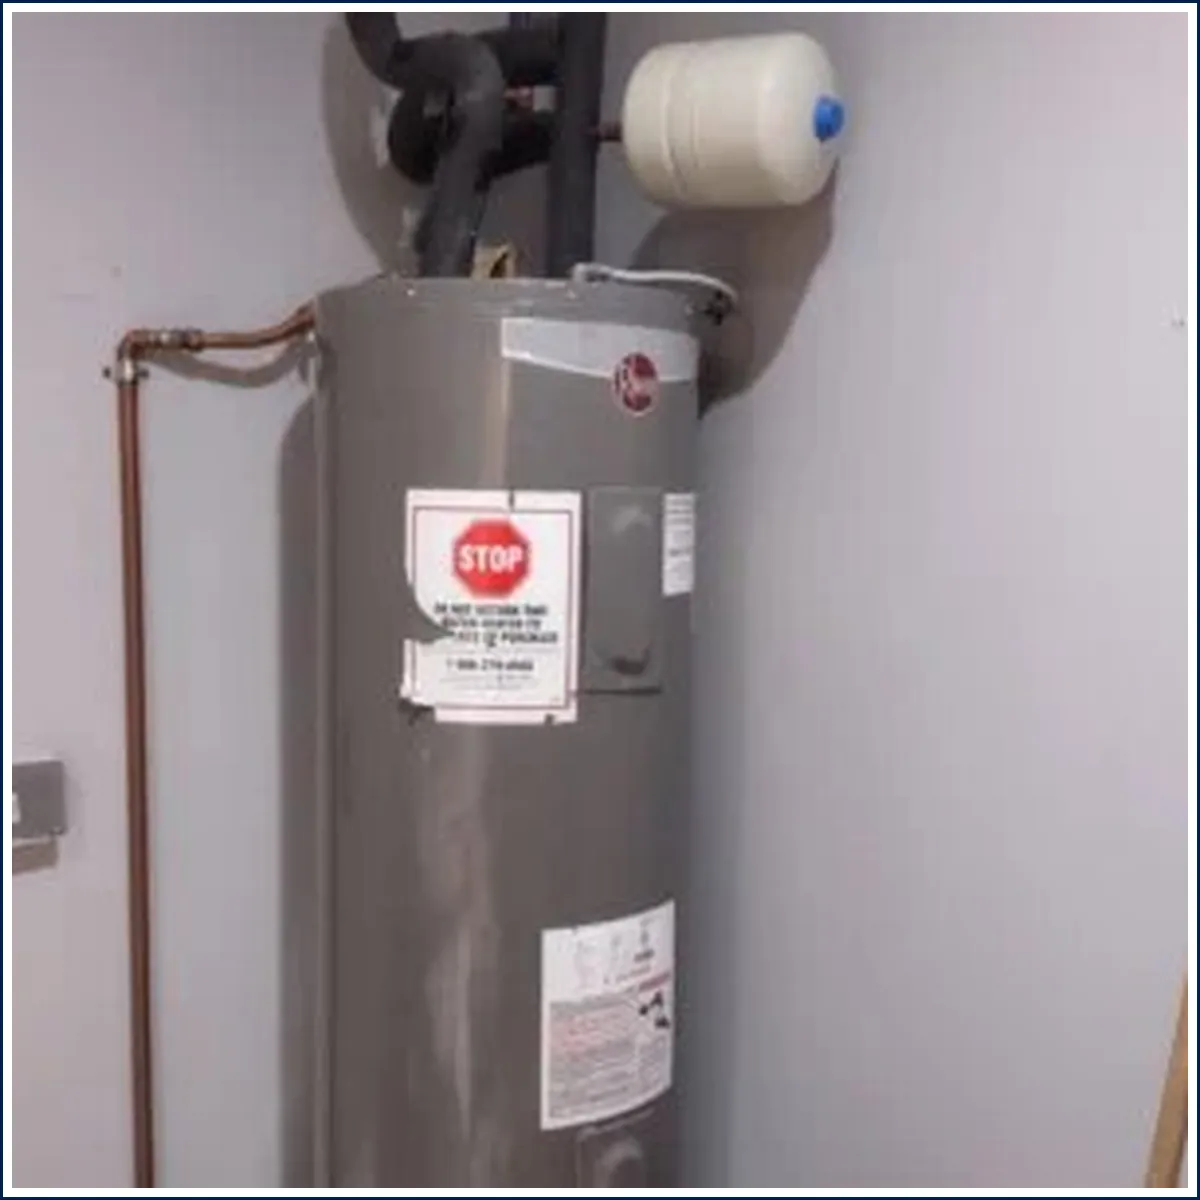
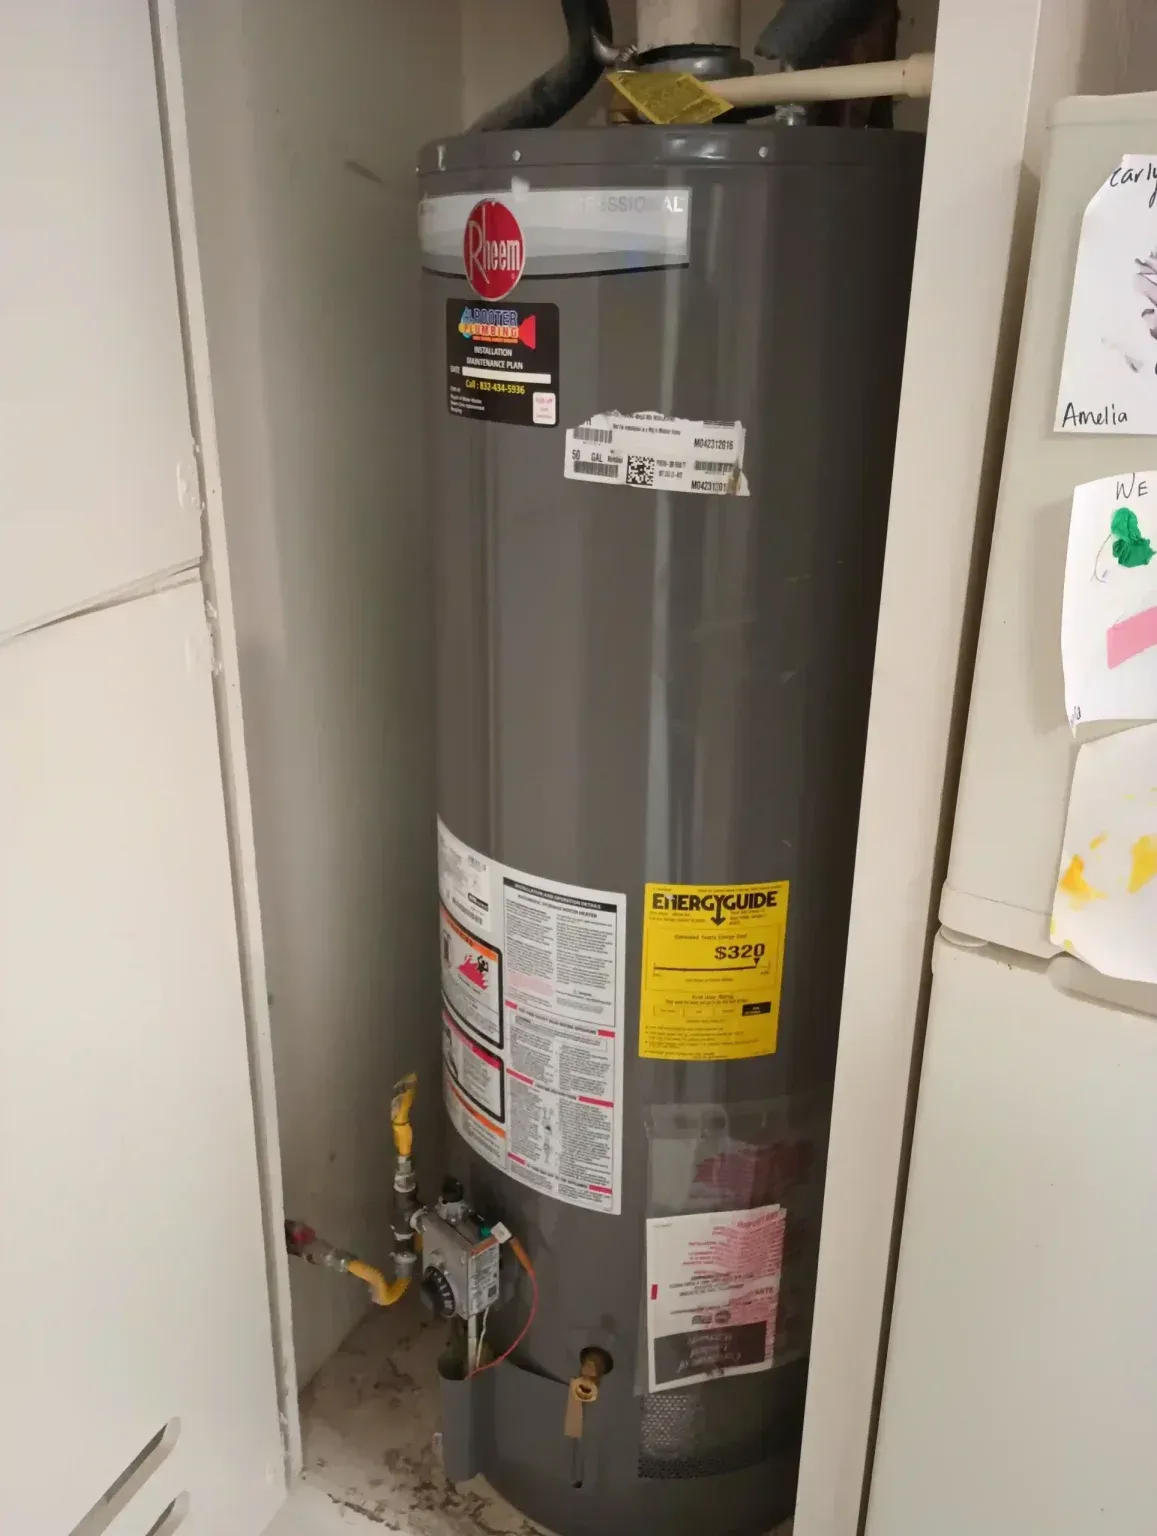
Water Heater Repair & Installation
Want Reliable Plumbing Services?
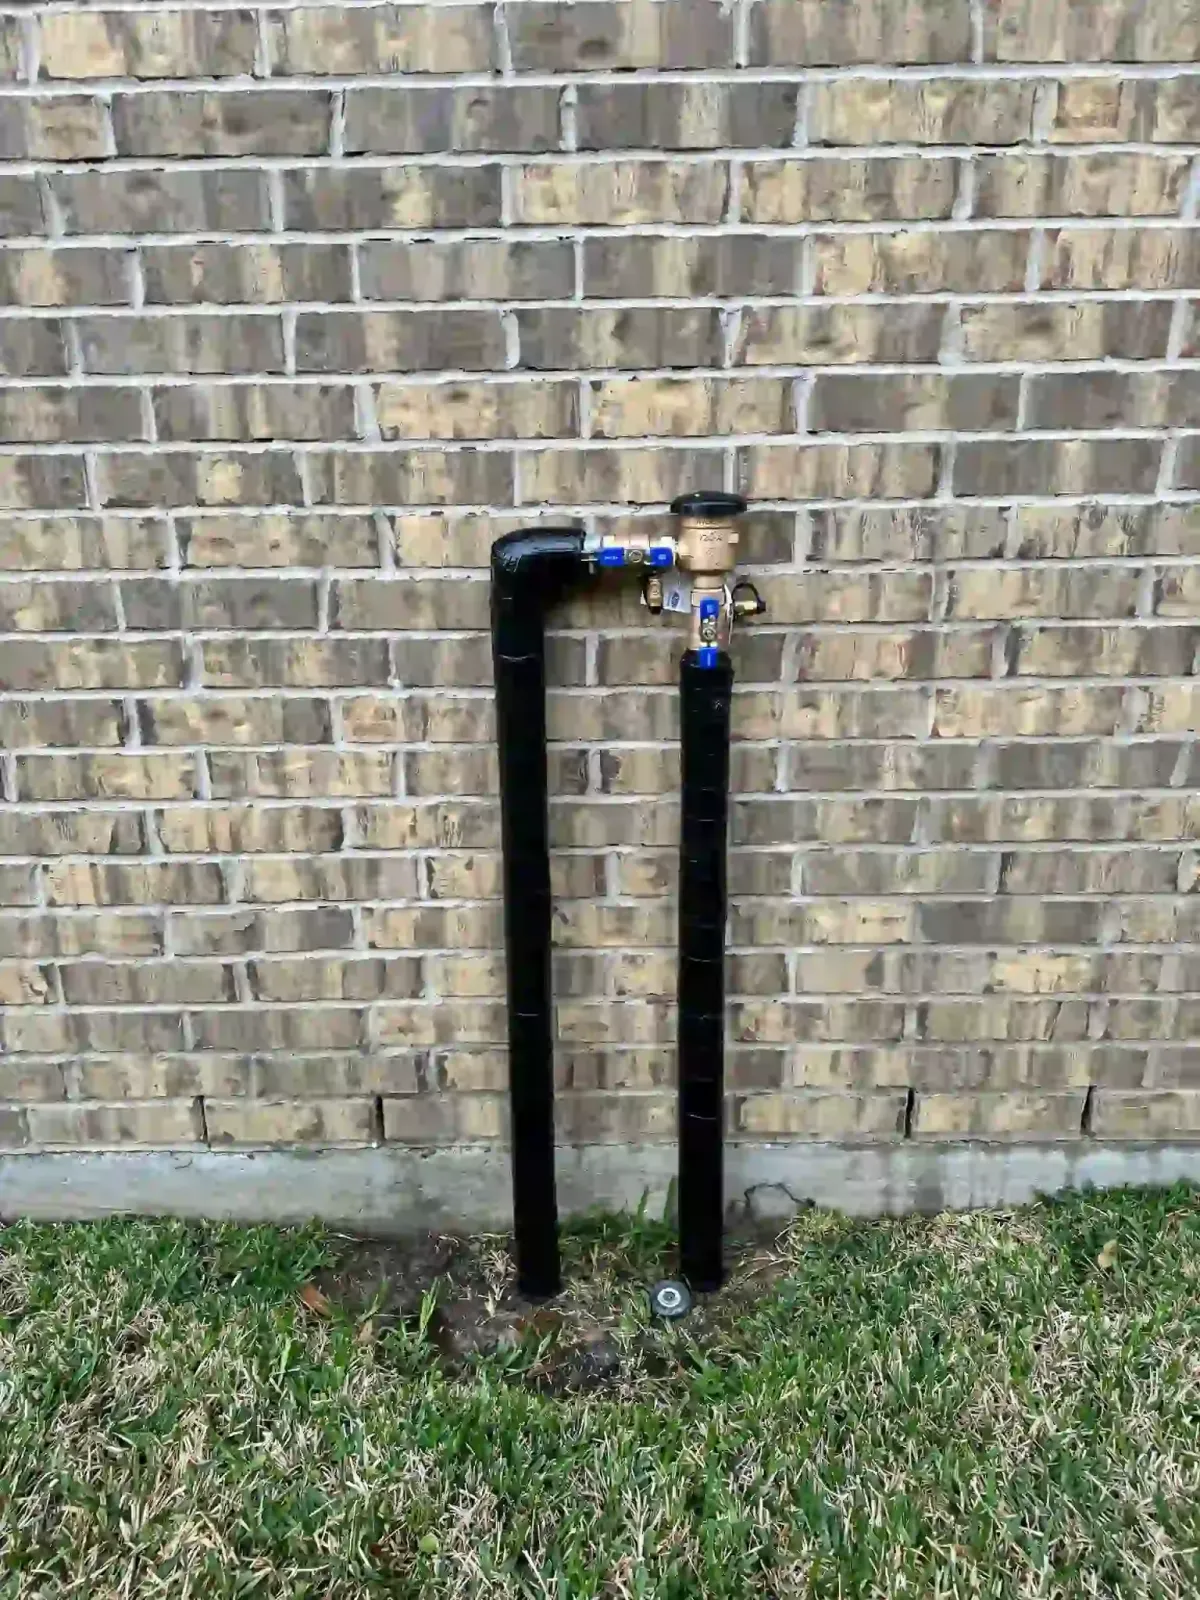
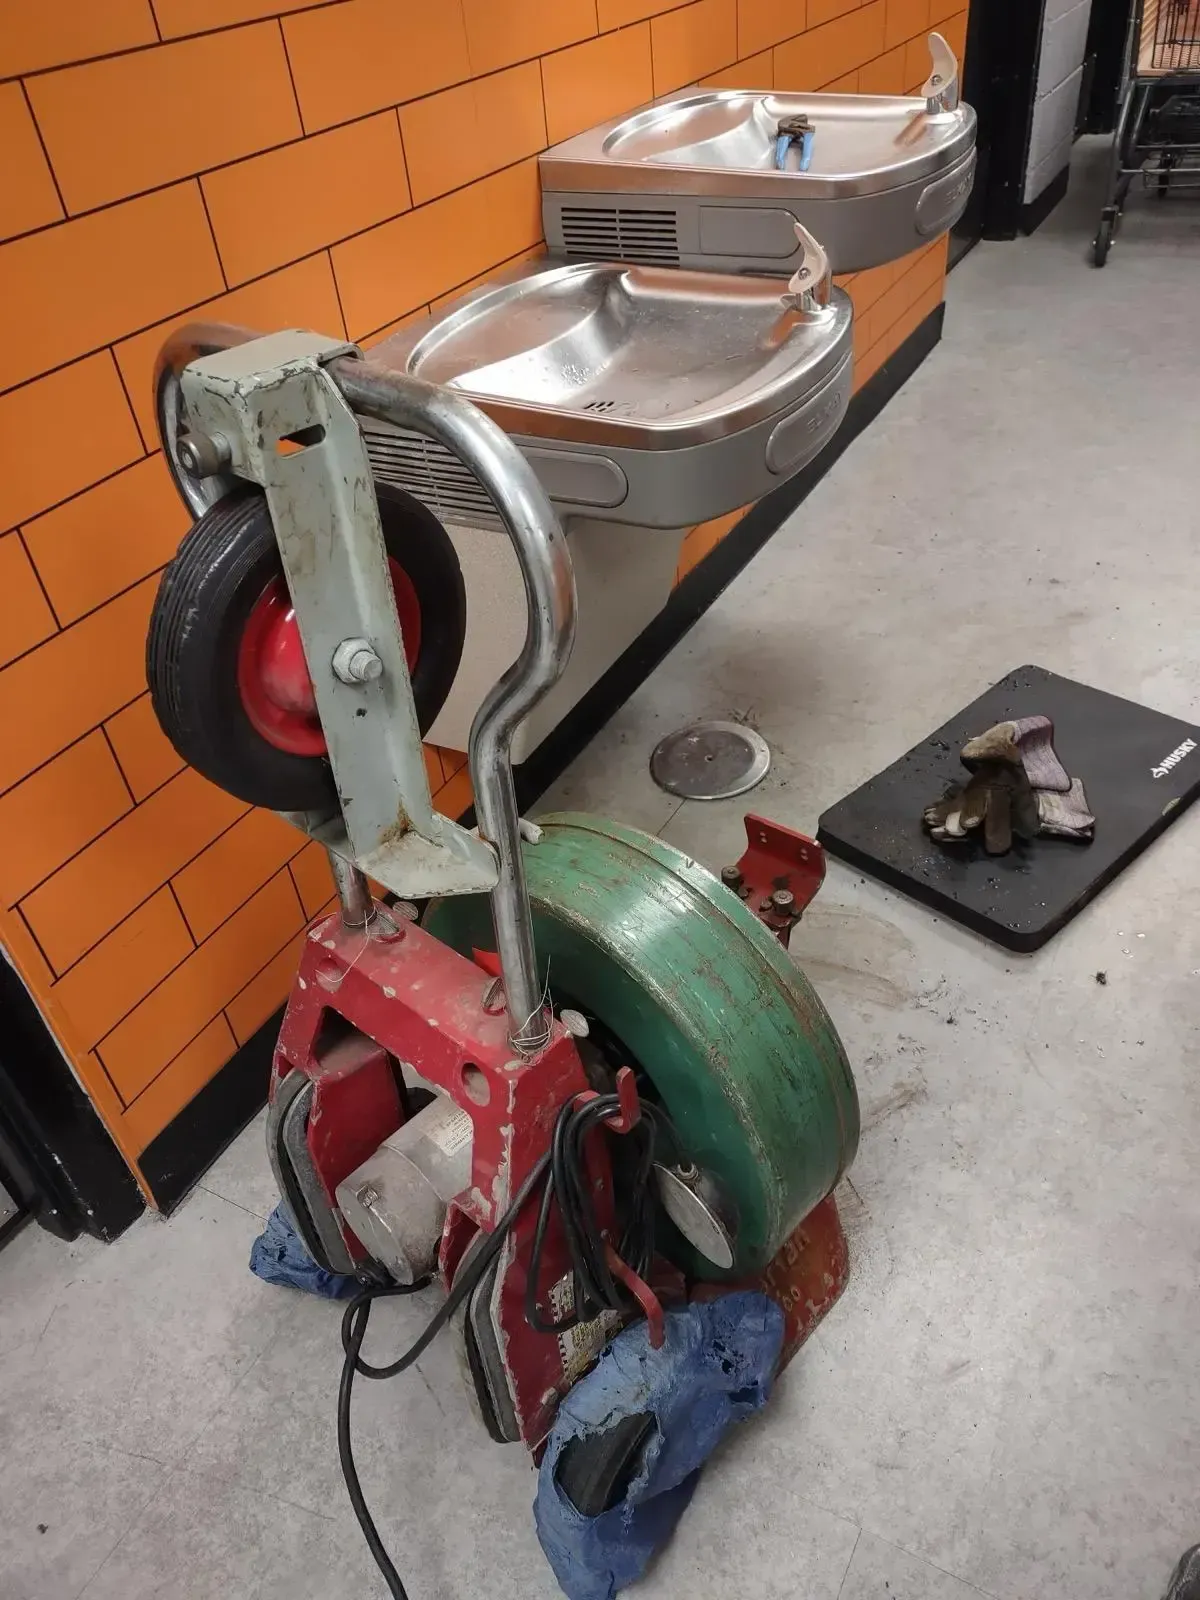
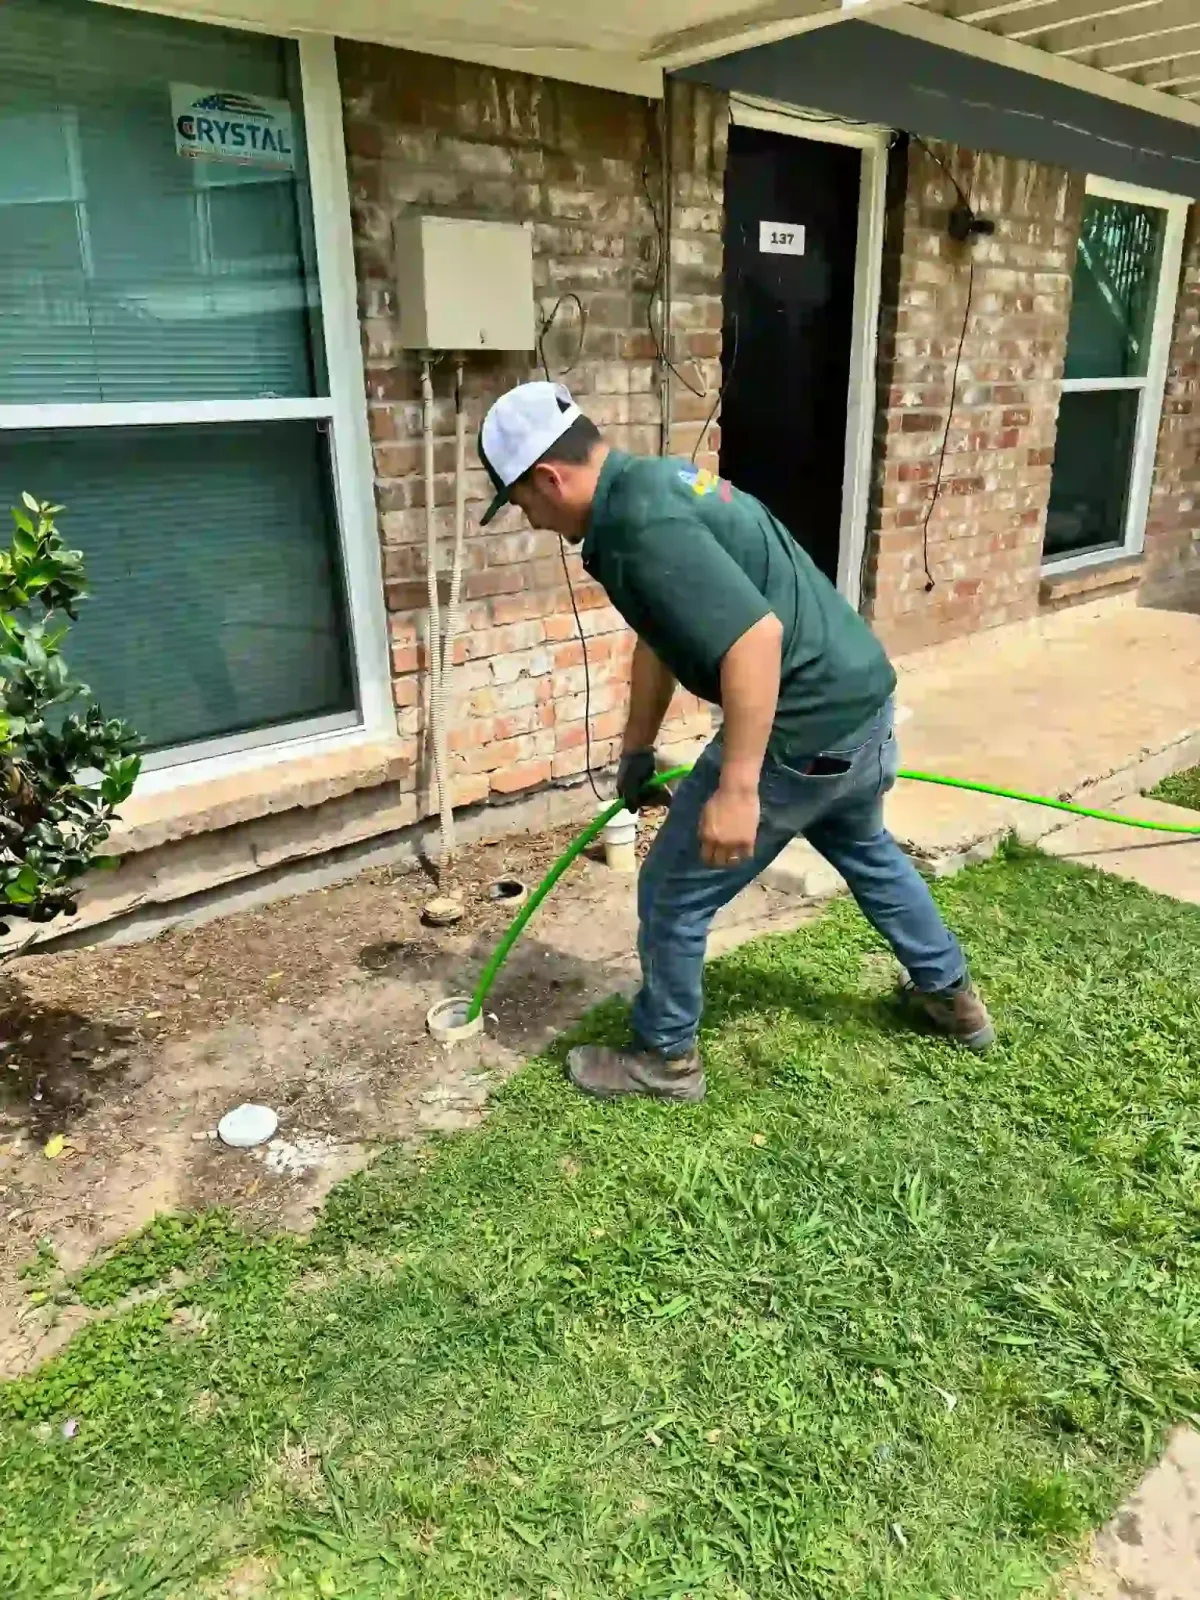
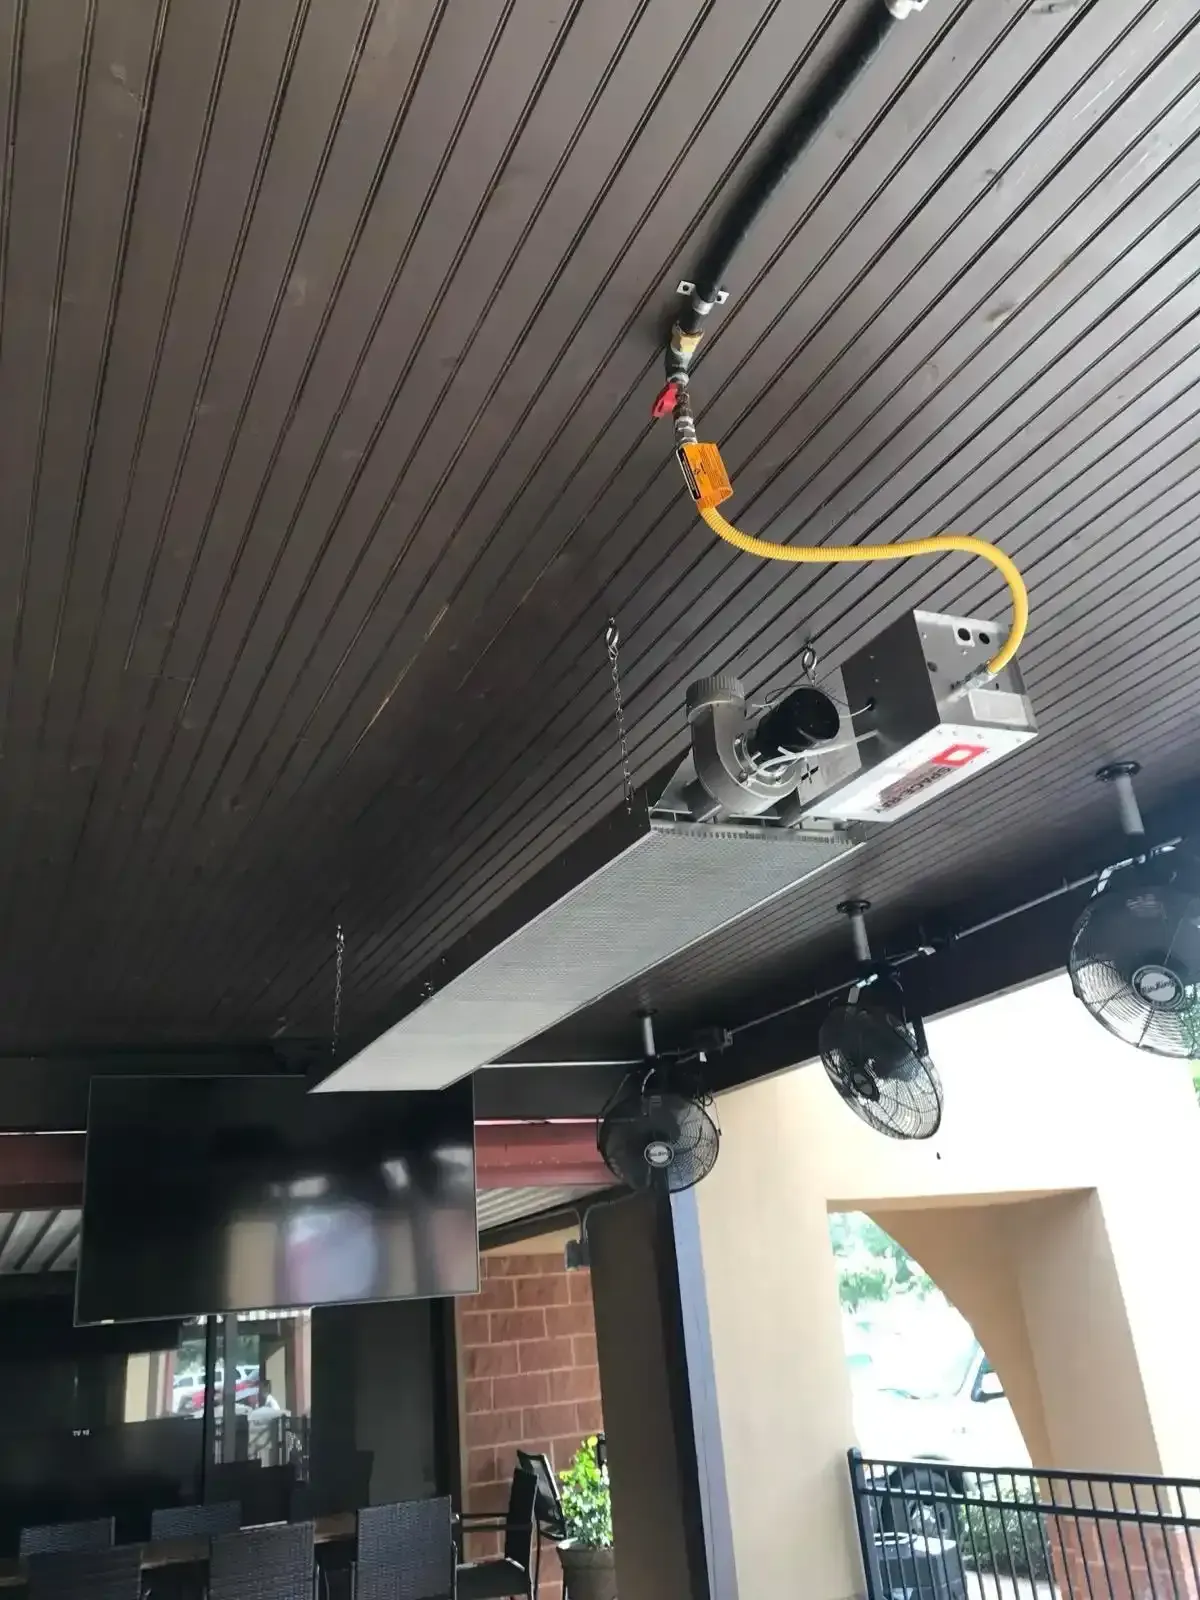
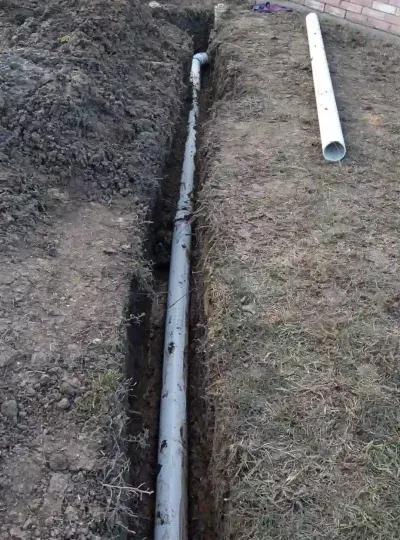
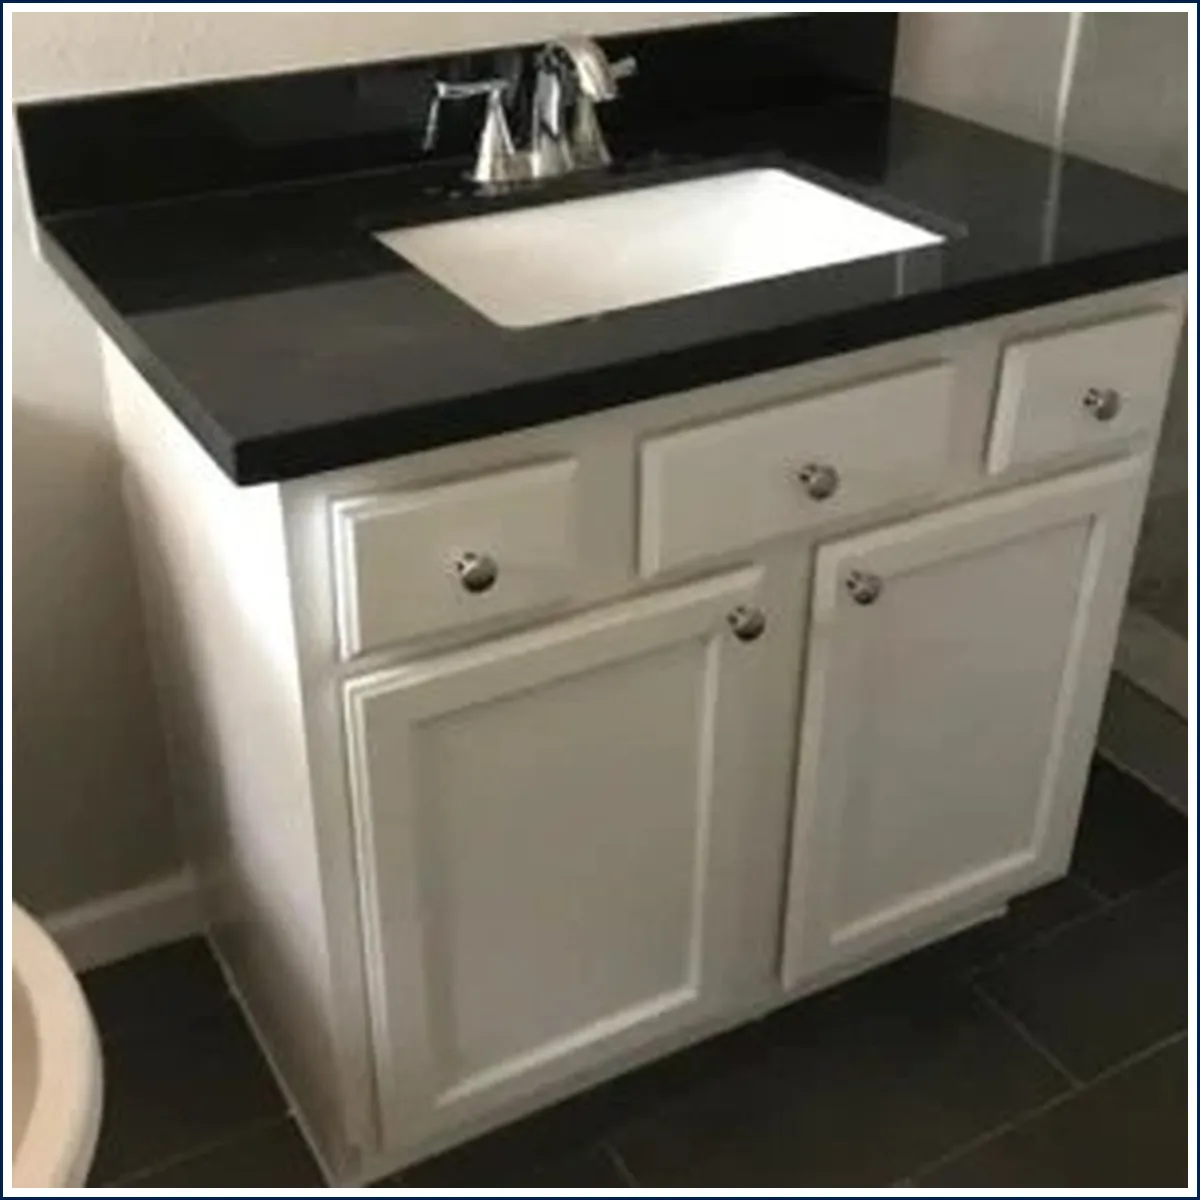
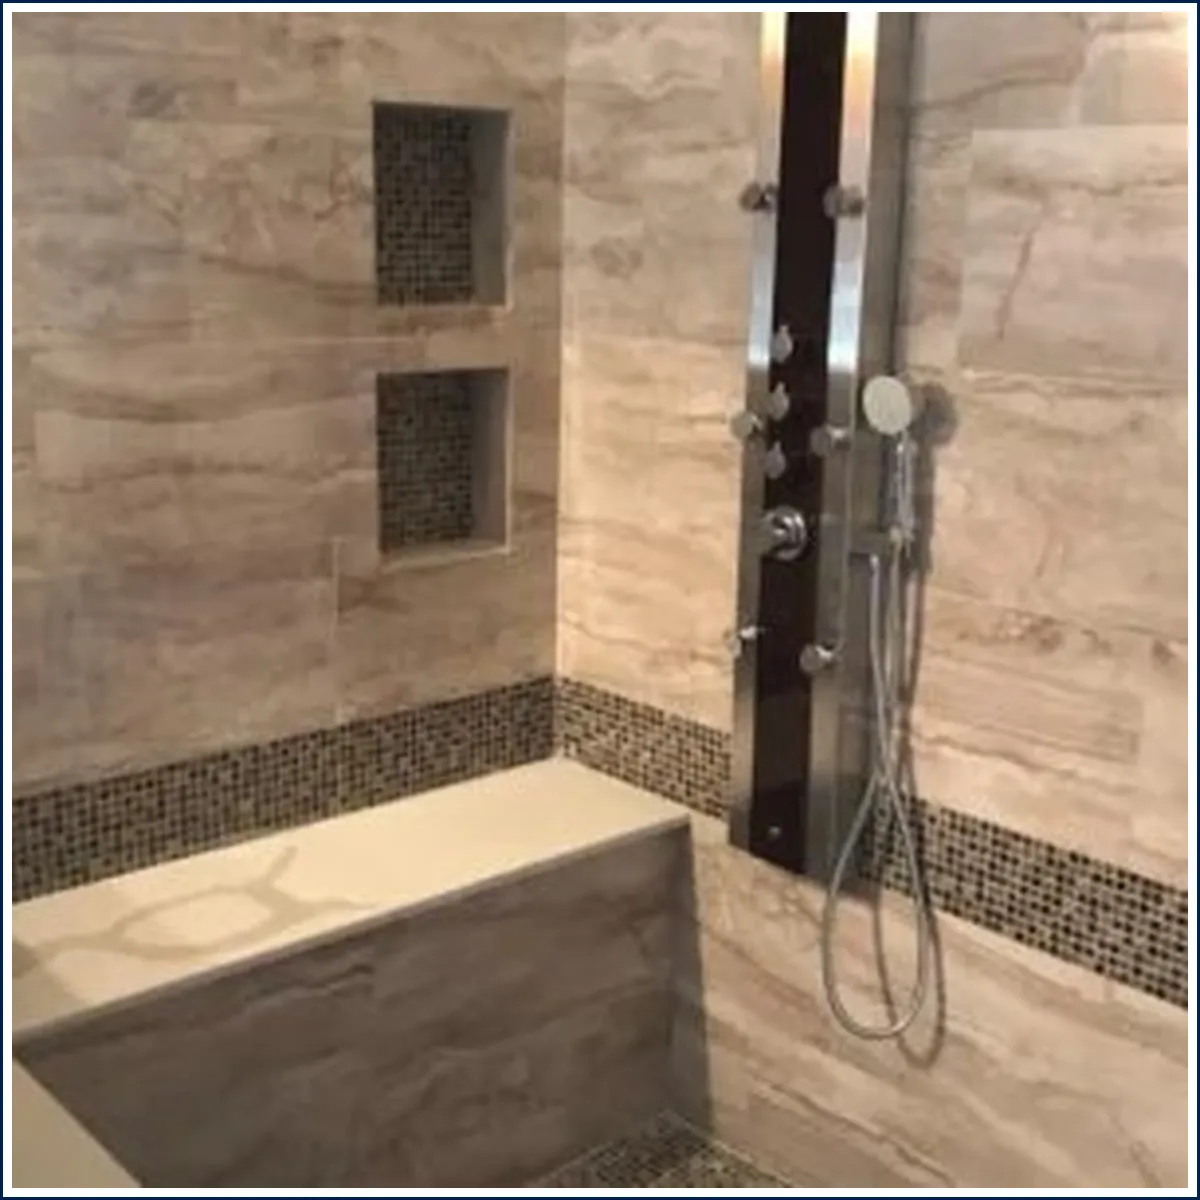
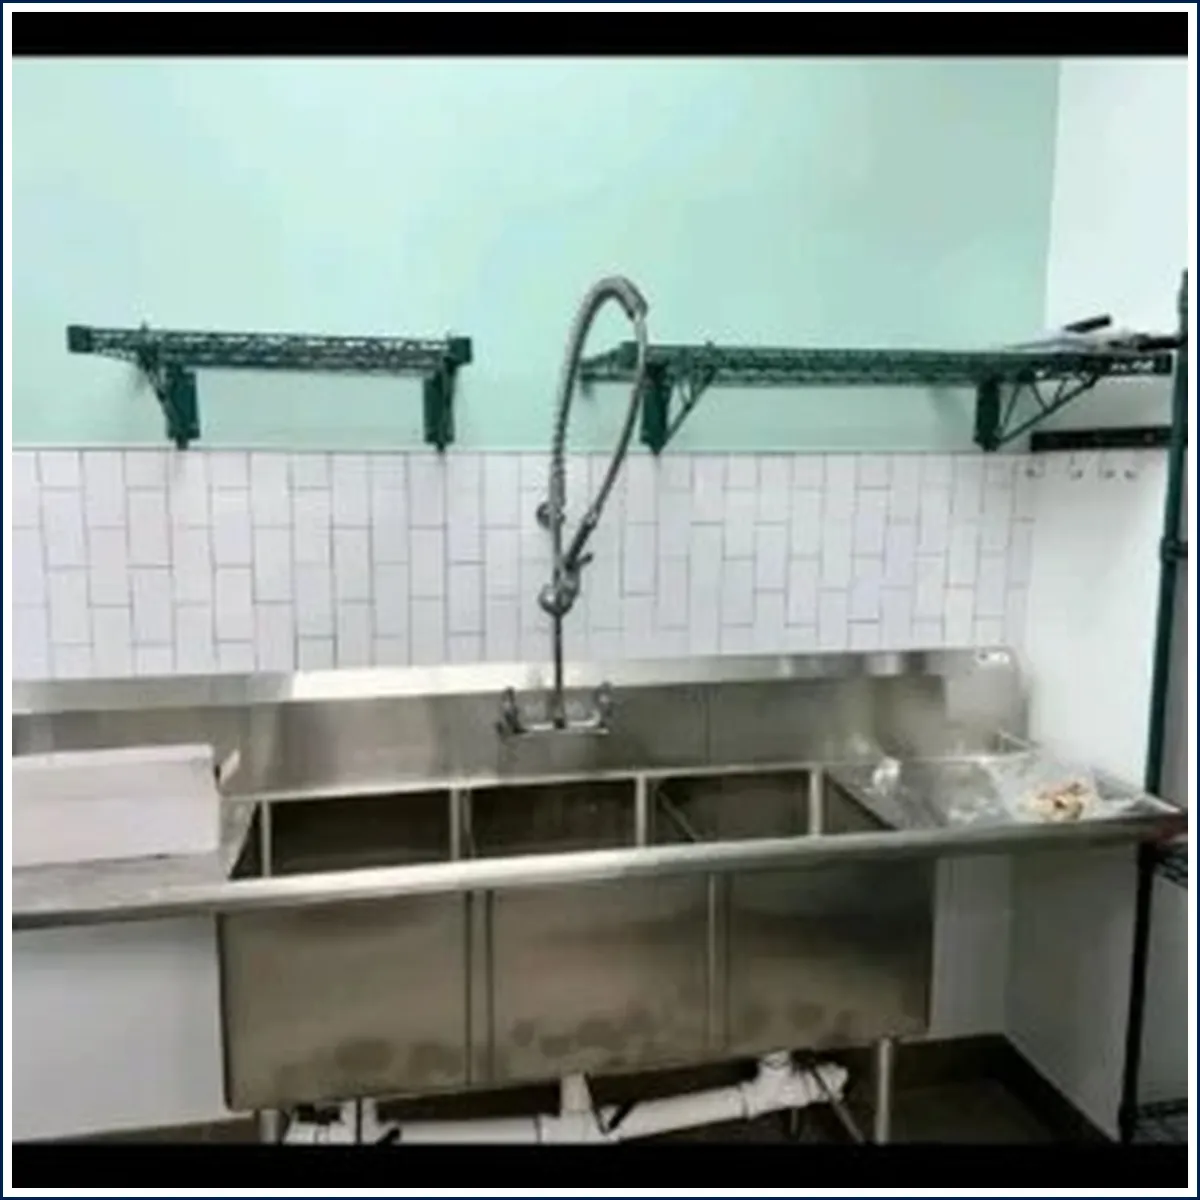
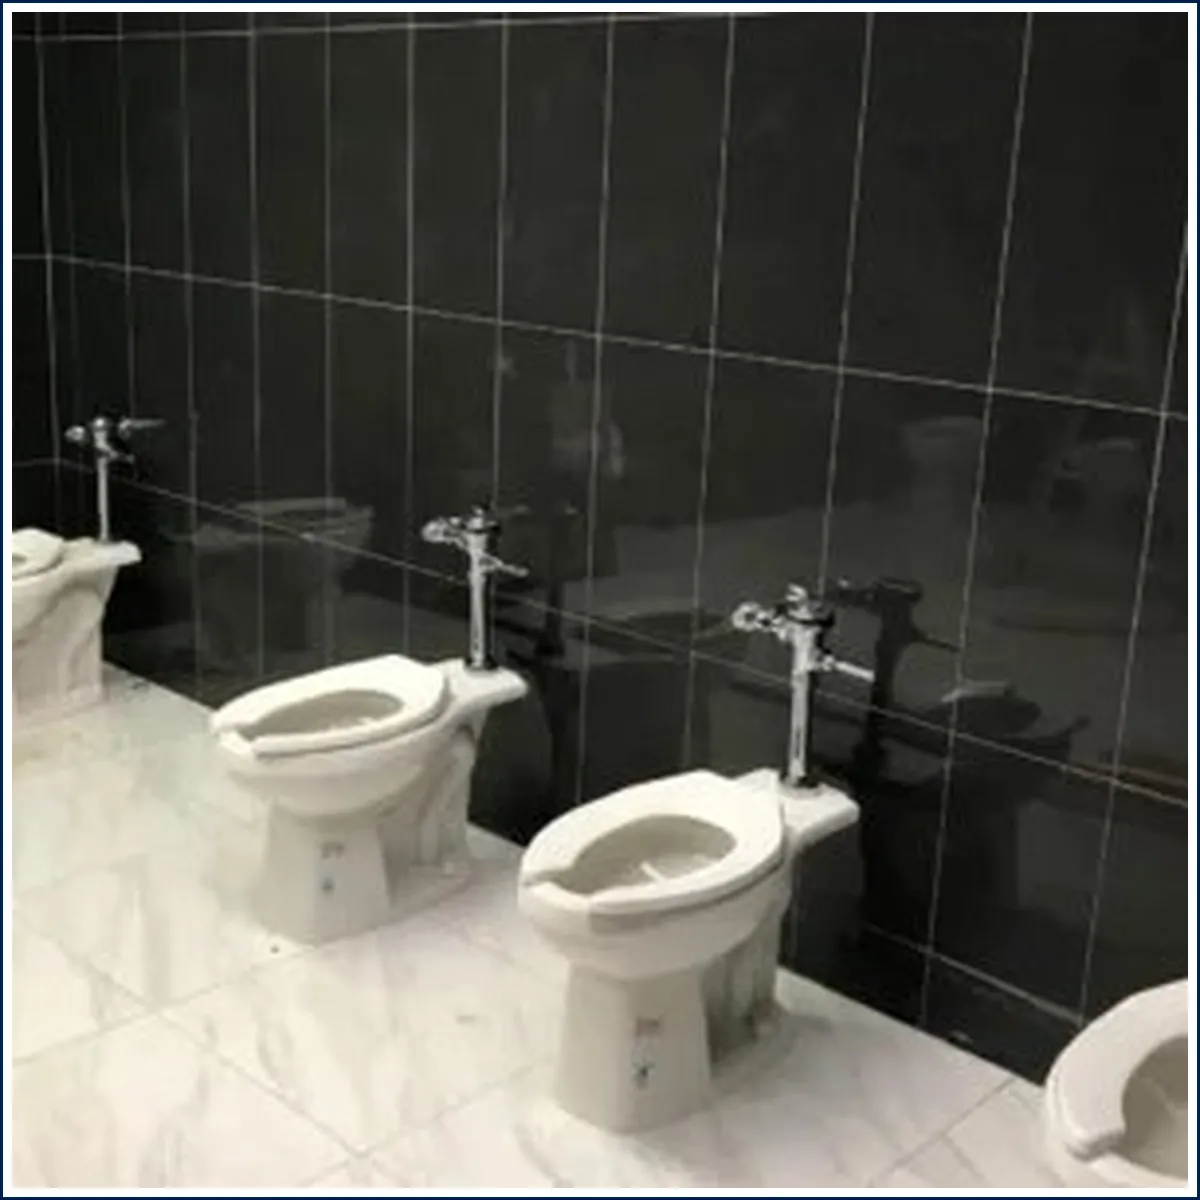
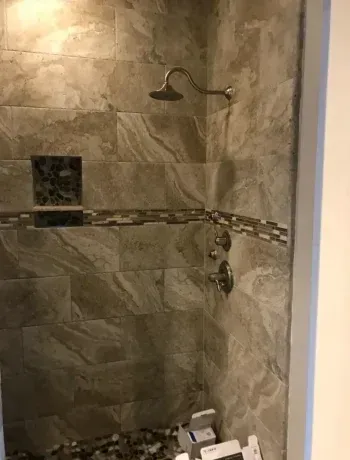
Portfolio
We’re Proud of Some Completed Works

Our 5 Star Google Reviews
Great Team
Meet Our Experienced Team
Owner & CEO
Owner and co-founder
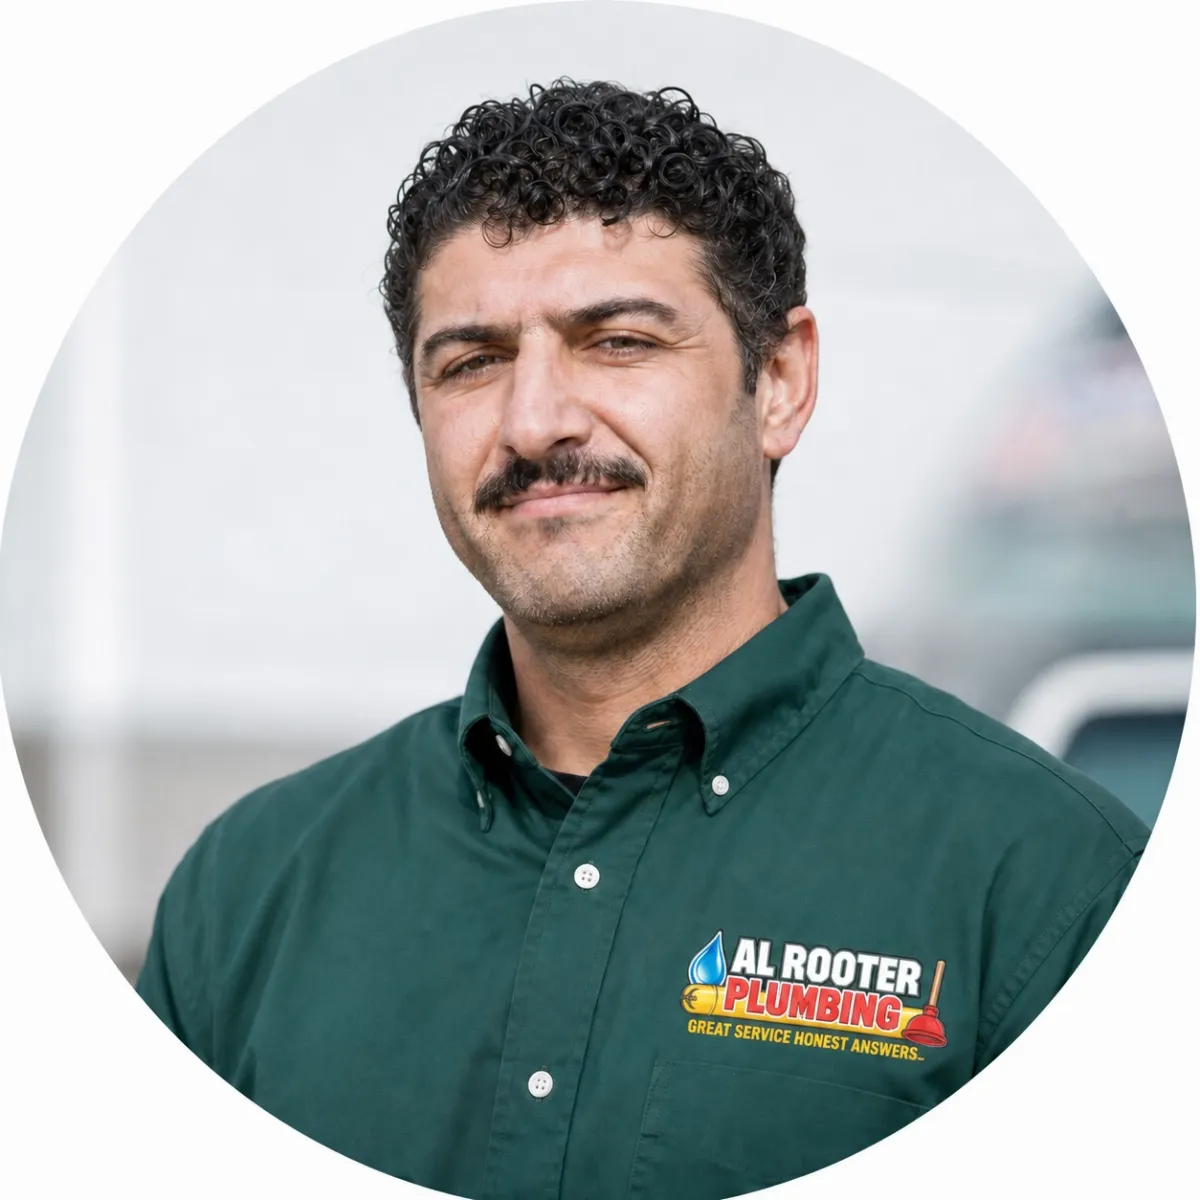
Sr Technician

Sr Technician
Special Offers
$50 on plumbing services up to $300

$299 on re-pipe
$150 on the water heater
free camera inspection $0
Special Offers
$50 on plumbing services up to $300
$299 on re-pipe
$150 on the water heater
free camera inspection $0
We provide fast, reliable, and affordable plumbing services for homes and businesses. Our team ensures your satisfaction with high-quality solutions.
Our Services
Residential Plumbing
Water Heater Installation
Leak Repair
Commercial Plumbing
Leak Repair
Latest Blogs
21 June, 2023
Fixing Common Plumbing Problems
22 June, 2023
Signs You Need a Professional Plumber
Contact Now
Office Location
Office Info
Open 24/7